
This post may contain affiliate links. Please read our Disclosure Policy for details.
Choosing the perfect paint color is way more difficult than one might imagine. You might see a paint color in a store, pick up a sample and roll it out on your wall, only to discover that it looks NOTHING like it did in the store. Such is lighting. Lighting is the main factor in how a paint color will look in your home. Depending on the natural lighting and the interior lighting, the undertones of the color will be brought out and you will either love the color or hate it. A color that looks crisp white in your friend’s home, may appear more creamy or off-white in your home. Gray is very popular right now, but finding the right shade could feel like it requires an advanced degree and so much time and patience that the trend will likely be over by the time you finally decide on the perfect hue. Some grays have blue undertones, while others have green or purple hues mixed in. Then there are greiges, the hybrid of gray and beige-is your head spinning yet?
I personally like to choose at least three and no more than six colors to sample. You can either borrow the color wheel from your local paint store, or you can take home paint chips that they have on full display in each store. A good tip is to take a step back while at the paint store and look at the wall of paint chips that is displayed; take note of how the colors transition. Look at the darkest color on the bottom of the chip to see which undertones the color has. For example, you can see the progression of colors as they move from pink to red or pink to purple and from gray to blue or gray to brown on each spectrum. Make sure you look at which direction the colors progress when they are displayed on the wall. You can see the rainbow in the correct order and progression as it’s displayed in numerical order in the store. Bring the paint chips home and hold them up in the natural lighting in your house in the room that you intend to paint. I like to hold it up against a white door frame, near a window, and on all four walls of the room to see how the light hits it. Once you’ve narrowed your selection down, have the paint store mix you samples. And now the fun begins…
There’s no right or wrong way to test paint samples, but if you’re going to be painting the room yourself and this is your first rodeo, I recommend doing it one way versus another. The very first time that I painted samples directly on the wall, I made six large square samples and did two coats of paint. When the painter came in to paint the color that I had ultimately selected, he had a challenging time concealing those six squares, as they were showing through his paint job. Apparently my definition of a coat of paint was way thicker than his…oops! He had to roll over those areas in multiple directions to ultimately hide them. Years later, when I decided to paint a bedroom by myself, I remembered my blunder and was a lot less heavy-handed on my sample paint swatches.
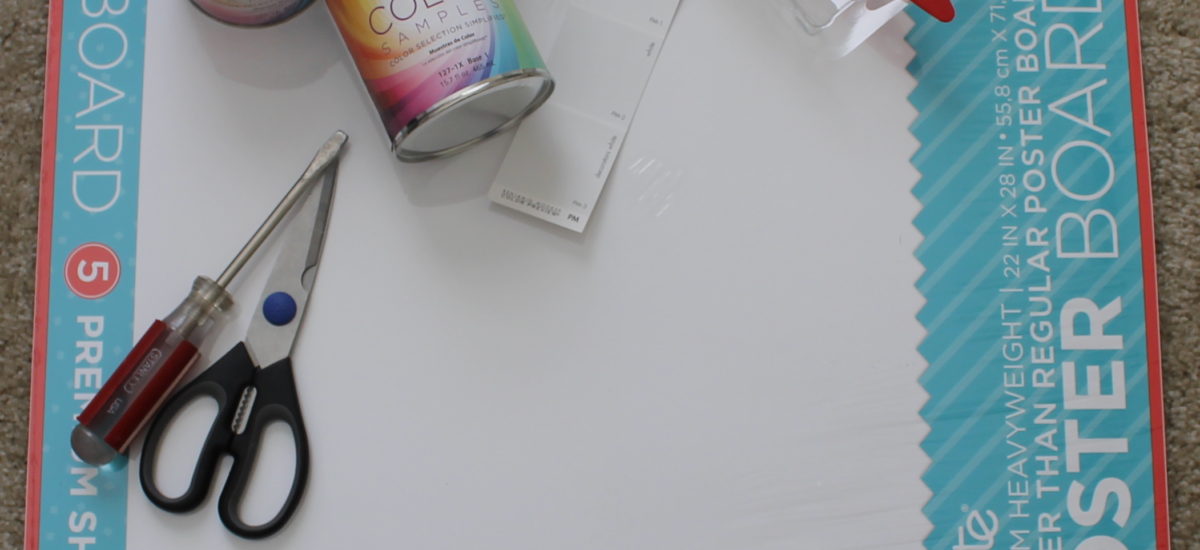
If you’re going to hire a painter or you have no experience painting walls, I would recommend trying a different technique of viewing paint samples on the walls so that your painter has a blank canvas. First, you will need some supplies. For every room that you’re painting, I recommend using three to four pieces of poster board-one for each wall. You don’t have to use an entire piece of poster board for each wall; you can cut one board into smaller pieces. Next, you’ll need disposable paint rollers. They come in small sizes with a handy paint tray. You’ll want to have scissors and a flat head screwdriver handy as well. And ladies, if you don’t want to wreck your fresh mani, have some rubber gloves on hand just in case the paint gets messy.

The next step is to cut the poster board. You’ll need three or four pieces for each paint color you’ve selected. Measure and cut the poster board into three or four even pieces.
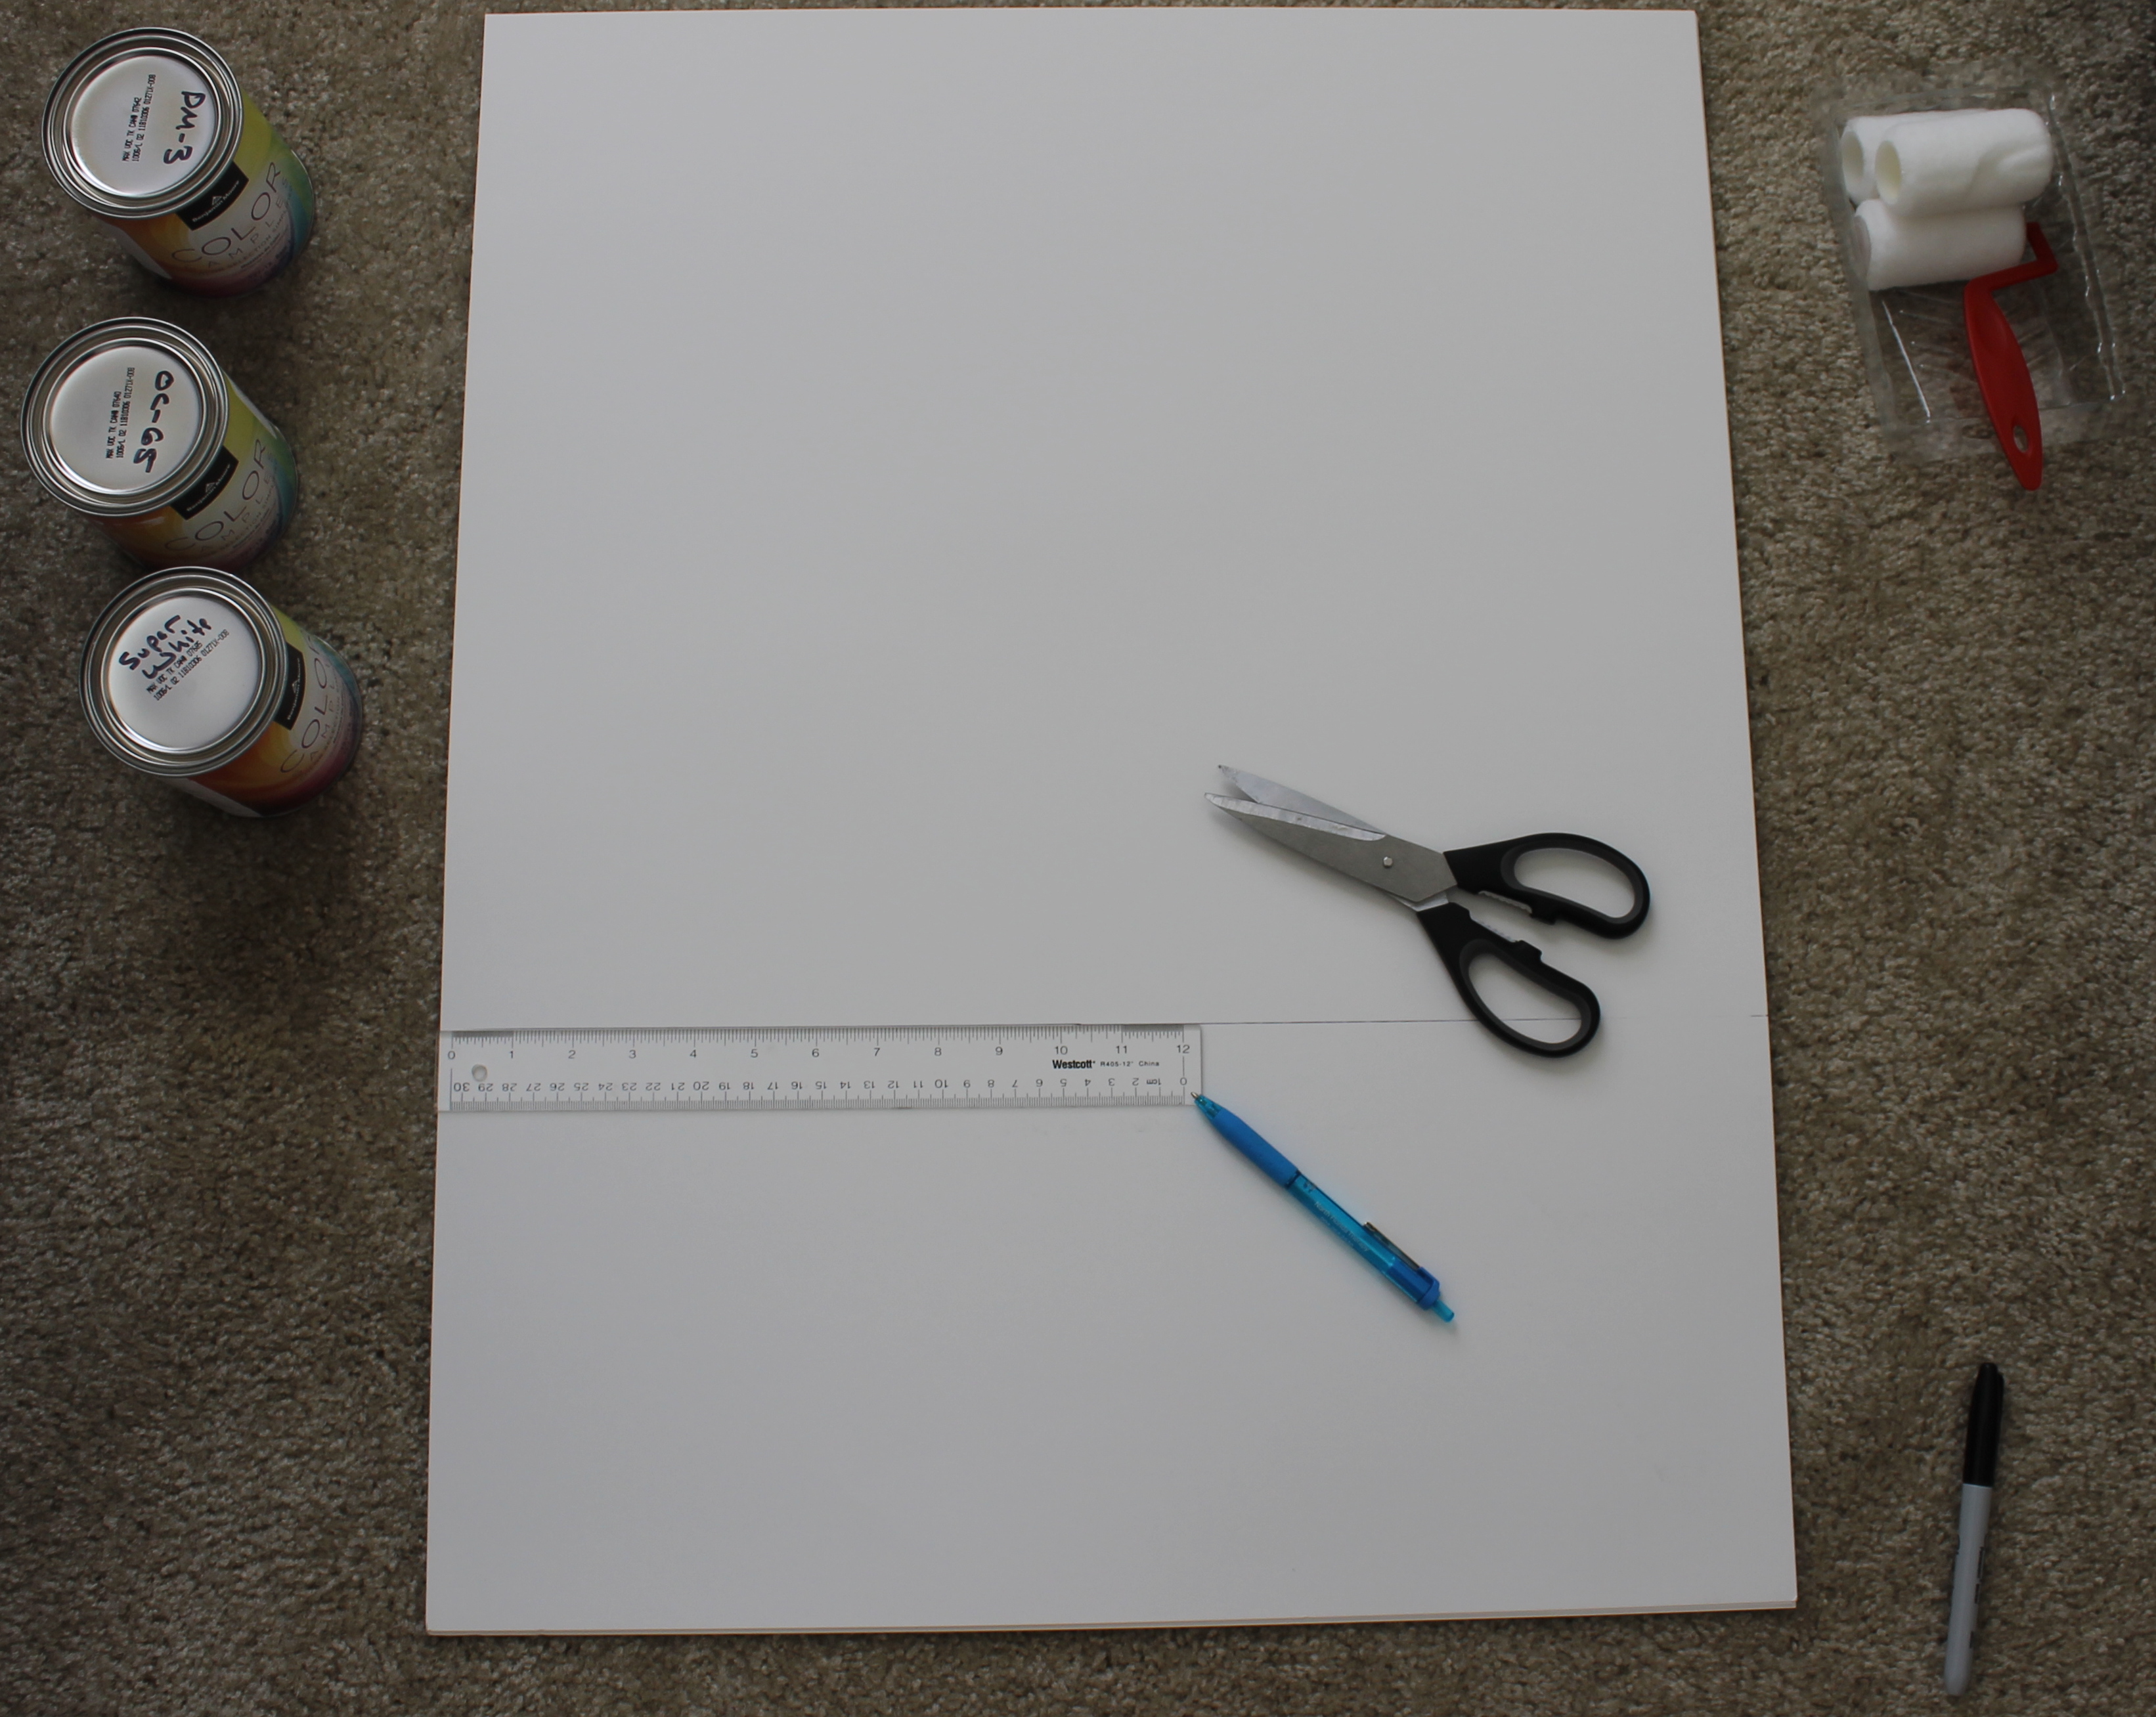
Label each piece of poster board with the color name.

Next, select your first color sample and shake the can well to ensure the color is mixed evenly throughout. Use a screwdriver to open the lid of the paint can.

Roll one coat of paint onto each piece of poster board for its corresponding color.

Add a second coat of paint once the first coat dries. Repeat the above steps for each sample color that you selected. Once the samples are dry, use blue painter’s tape to hang the samples on the walls inside the room to be painted. Visit the samples at different times of day so that you get an accurate feel for how the paint color will look in the morning, afternoon, and at night. Once you’ve made your decision, determine what type of finish you want the paint to be-flat, matte, eggshell, satin, semi-gloss, and high gloss. Each brand of paint has different types of paints that range from builder grade to very high end. Prices across the brands are fairly comparable, it just depends on your utility for each room. A few of the brands have washable matte paints, while a typical eggshell finish is pretty washable in and of itself. There are also varying factors to consider such as coverage, ease of application, and durability. Oh, and kids.
Do you have a favorite go-to brand and type of paint?
As an Amazon Associate, I earn from qualifying purchases.
© Copyright 2018 Twinstant Gratification, LLC
Tamar Blazer is an attorney-turned-twin mom, with a passion for her family, friends, writing, good food, home decor and laughing. When she’s not lamenting on her lack of sleep, you can find her doing one of the too many projects she likes to take on, usually with a twin on either side.